How to Build a Writing Stationery Set from Scratch
A letter arrives finished. The paper is folded, the ink is dry, the stamp is stuck on straight. Getting to that point is where the pleasure lives, and it starts with a handful of decisions: which pen, which paper, which envelope, and where all of it lives when you are not using it.
Building a writing stationery set from scratch is not a shopping trip. It is a slow assembly of things that work well together. Buy in the wrong order and you end up with mismatched paper and three pens you never reach for. Buy in the right order and every letter gets easier to write.
Start with the pen
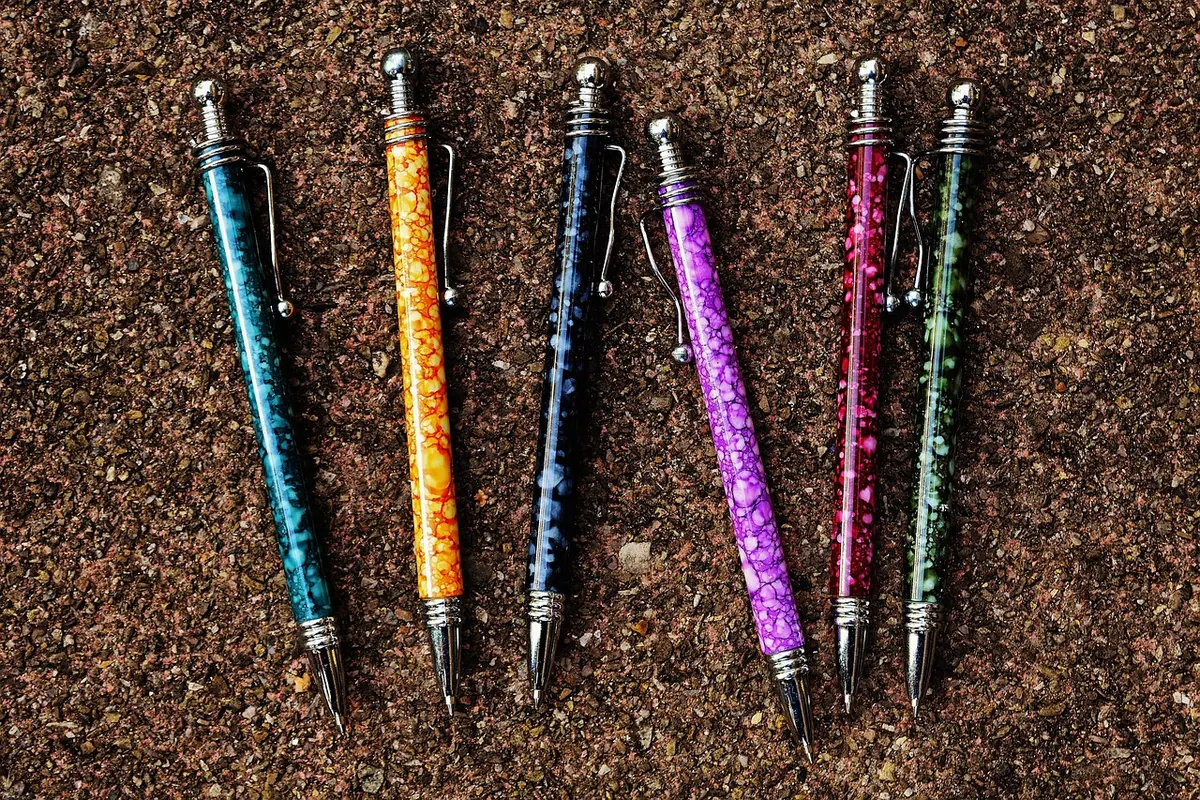
Everything else follows from the pen, so start there and start with one. A pen you enjoy holding will do more for your letter writing than a box of expensive paper ever will. Test a few in a shop if you can, and write a full sentence rather than a squiggle — your grip changes once you are stringing words together.
- Fountain pen. Needs almost no pressure, so it is kind to your hand over a long letter. It also demands paper that can take wet ink without feathering.
- Rollerball. Smooth and unfussy, and its ink dries faster than most fountain pen ink. A good choice if you are left-handed.
- Ballpoint. Works on nearly any paper and rarely leaks in a bag. You press harder, which starts to show in your handwriting after a page or two.
- Fineliner. Crisp and consistent for small, neat writing, though it can drag on heavily textured paper.
Tip size matters more than brand names. A fine nib suits small handwriting and uses less ink; a medium is the safe all-rounder; a broad nib is lovely for short notes and signatures but empties a converter quickly. If you write with your left hand, choose a fine nib, look for fast-drying ink, and keep a sheet of blotting paper under your palm.
Ink choices, briefly
Ink is half the personality of a pen. Blue-black is the quiet classic for letters, black is formal, and a deep green, brown, or burgundy adds warmth without shouting. If you use cartridges, keep a small tin of spares in your kit. If you use a converter, one bottle of good ink will last months. Avoid sparkly or heavily saturated inks in a pen you leave sitting for weeks; they are more likely to clog.
Choose paper that suits your pen
Paper is where most beginners lose money. Weight is given in gsm, and it tells you roughly how a sheet will behave. Around 80gsm is fine for ballpoints and pencils, but fountain pen ink often feathers along the fibres or shows through to the reverse. Somewhere between 90 and 120gsm is the comfortable middle for letters: substantial in the hand, still easy to fold.
Surface matters as much as weight. Smooth paper lets a fine nib glide; laid and textured sheets feel wonderful but can catch a sharp point and leave ink sitting on the surface until it dries. If you want letters to keep for years, look for acid-free or archival paper, which resists yellowing.
Think about format before you buy. Loose sheets let you write as many or as few pages as the letter needs and pair with any envelope you like. A pad is handy for notes but ties you to its size. A ruled guide sheet slipped underneath will keep your lines straight on plain paper without ruling the page itself. Buy a small pad or a pack of ten sheets first, write on both sides, and check for feathering, show-through and drying time. Then buy the quantity you actually want.
A simple paper test
Before committing to a ream, run a two-minute test. Write your name and a full line with each pen you own. Turn the sheet over and look for ghosting or bleed-through. Wait thirty seconds, then run your thumb across the writing to see if it smudges. If the paper passes all three checks, it will serve you well. If it fails, keep it for grocery lists and try a heavier weight.
Match your envelopes to the paper
Envelope sizes are simpler than they look once you know the folding logic. An A4 sheet folded in half fits a C5 envelope; quarter it and you have an A6 sheet that drops neatly into a C6 envelope, the size most people picture when they think of a personal letter. A long DL envelope takes an A4 sheet folded in thirds. Decide how you want to fold, then buy the envelope to fit.
Where you can, buy envelopes made from the same paper as your sheets — a matching set looks deliberate, and the weights behave the same way. Gummed flaps need a damp sponge; peel-and-seal is quicker and kinder to a kitchen table. Whichever you choose, check that the envelope takes your pen without smudging, since handwritten addressing is half the charm. Keep a few larger envelopes aside for letters that carry photographs or a small enclosure.
Add the small tools
These are the bits that turn a pen and some paper into a working set. None are essential on day one, but each one removes a small friction.
- Blotting paper or a rocker blotter for wet signatures and the occasional smudge.
- Spare ink — cartridges if you want simplicity, a bottle and converter if you want choice. Two colours is plenty: a dark blue or blue-black for letters, something warmer for notes.
- A pen case that closes properly, so ink stays where it belongs.
- A pencil and a small ruler for ruling guide lines, addressing envelopes, and making small corrections. A soft graphite pencil is better than a hard one because it leaves lighter marks and erases cleanly.
- Stamps — not a tool exactly, but buy them in a booklet and keep them with the set. A letter that is ready to post is far more likely to get posted.
- A small notebook or address book for keeping track of who you owe a reply. It saves you from scrolling through old messages to find an address.
Give the set a home
A stationery set that lives in a drawer you never open will not get used. The solution is not a grand writing desk; it is a single, shallow container where everything lives together. A lidded box, a wooden tray, or a zippered pouch all work. Keep paper flat so it does not curl, store ink upright so it does not leak, and put stamps, envelopes, and your address book in the same place. The goal is to remove the excuse that getting started takes too long.
If you write at the kitchen table, choose a tray that lifts away and stores on a shelf. If you have a desk, a small letter rack keeps current paper and envelopes within reach. Wherever the set lives, return things to it after each letter. A set that is always ready is a set that gets written with.
Build slowly and write often
You do not need to buy everything at once. Start with one pen and one pad of paper, write a few letters, and notice what you reach for. Then add the next piece: a better pad, a box of envelopes, a bottle of ink, a blotter. This gradual approach means you spend money on things you have already tested, not on a perfect-looking set that sits unused.
A simple starter set might look like this:
- One pen you enjoy holding, with a spare cartridge or a converter.
- Ten sheets of 90–120gsm A5 paper, smooth enough for your pen.
- Ten C6 envelopes, matching or plain.
- A few stamps, a pencil, and a small ruler.
- A shallow box or pouch to keep it all together.
That is enough to write a proper letter tonight. As you write more, you will learn whether you prefer lined or plain paper, long letters or short notes, blue ink or black. The set will refine itself around your habits.
“The best stationery set is not the most expensive one. It is the one that is already open on the table when you have something to say.”
Start with the pen, choose paper that lets it work, add envelopes that match, and give the whole set a home. Then write the letter. The stamp is the last thing, and by then the hard part is already done.
Photo: Alexas_Fotos / Pixabay